In Word document, arrow is also playing an important role all the time. In the last post we discussed how to insert horizontal lines in a Word document by easily using hyphen, underscore, asterisk, tilde, and signs. What you might not know is that we can insert arrows in Word document by using the same way. Quickly insert arrows into Word document by following solutions:
• With two hyphens and a greater than sign we can insert a right arrow: –>
• Type two equals signs and a greater than sign can get a bold right arrow: ==>
• A less than sign and two hyphens can make a left arrow: <–
• To insert a bold left arrow, type a less than sign and two equals signs: <==
• A double arrow can be inserted by typing a less than sign, one equals sign, and a greater than sign: <=>
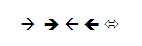
shortcuts-arrow
If you just need a normal arrow, those keyboard shortcuts are enough. But if you need a specific type of arrow, in Word 2010 and Word 2007 you can go to Insert tab and use the Symbols option. There offers a lot of choices besides the effective image shows below.
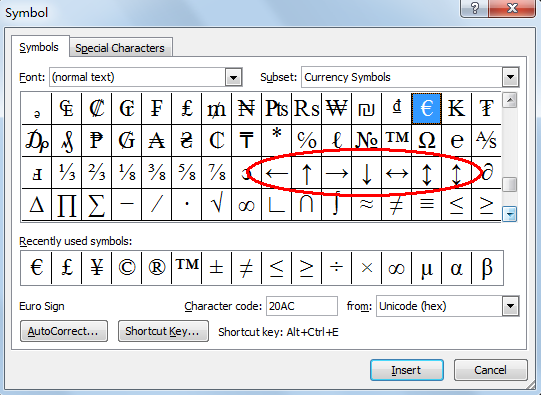
specific-arrow
This feature is part of Word’s AutoCorrect feature which can be freely controlled. The instructions below can help you modify or disable this feature.
1. Go to the File tab and choose Options under Help. In Word 2007, click the Office button and then go to Word Options. Choose Proofing in the left tab. In Word 2003, choose Options from the Tools menu, and skip to step 4.
2. Click Proofing in the left pane.
3. Click the AutoCorrect Options button in the AutoCorrect Options section.
4. In the Replace Text As You Type list, you’ll find these options. You can delete them or modify them. If you disable the
feature by unchecking the Replace Text As You Type option, you’re disabling the entire list, not just the arrows.
5. Click OK twice.

 RSS Feed